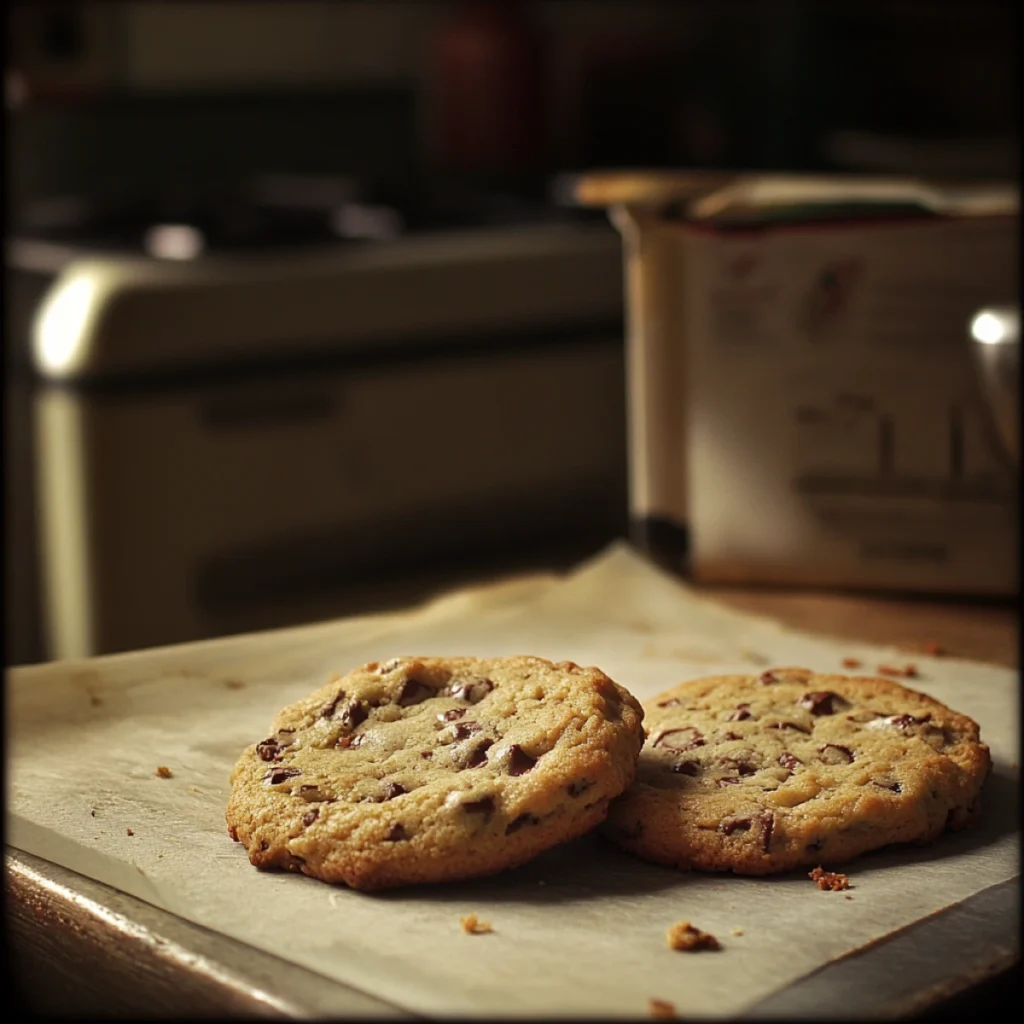
If you’ve ever wanted to recreate the famous Millie’s Cookies at home, now is your chance! Known for their soft, chewy texture and melt-in-your-mouth sweetness, Millie’s Cookies are a favorite for cookie lovers everywhere. This guide will walk you through each step, ensuring your cookies come out just as delicious as the original.
For more cookie tips and variations, you can explore this comprehensive guide to cookie baking for more inspiration.
Ingredients You’ll Need
To get the best results when baking Millie’s Cookies, the ingredients you use matter. Here’s what you’ll need to get started:
- 175 grams of unsalted butter (softened at room temperature)
- 100 grams of caster sugar
- 100 grams of light brown sugar (for that chewy texture)
- 2 large eggs
- 1 tsp of vanilla extract
- 275 grams of self-raising flour
- 250 grams of chocolate chips (milk or dark chocolate)
You can experiment with the ingredients and opt for gluten-free or vegan alternatives depending on your dietary needs. For more detailed ingredient substitution ideas, check out BBC Good Food’s cookie recipes.
Essential Baking Tools
Before getting started, ensure you have the necessary tools to make the baking process seamless:
- Mixing bowls (one large, one medium)
- Electric mixer (for creaming butter and sugars)
- Baking trays (lined with parchment paper)
- Cookie scoop (to ensure even-sized cookies)
For a complete list of essential baking tools, see this helpful guide to cookie baking.
Step-by-Step Recipe for Millie’s Cookies
Now that you have your ingredients and tools, follow these steps to create Millie’s Cookies at home.
Step 1: Prepare the Dough
- Cream the butter and sugars: In a large mixing bowl, use an electric mixer to beat together the softened butter, caster sugar, and brown sugar until the mixture is light and fluffy.
- Add eggs and vanilla extract: Crack the eggs one at a time into the mixture, ensuring each egg is fully incorporated before adding the next. Add the vanilla extract for a hint of flavor.
Key Tip: Make sure your butter is at room temperature to get the best creaming result.
Step 2: Mix in the Dry Ingredients and Chocolate Chips
- Add the flour: Gradually add the self-raising flour into the mixture, stirring gently to avoid overmixing the dough.
- Fold in the chocolate chips: Use a spatula to fold the chocolate chips into the dough. Be generous with your chips for that classic Millie’s Cookie experience.
For more baking inspiration, check out our Easy Red Velvet Funnel Cake recipe.
Shaping and Baking the Cookies
Step 3: Shaping and Baking
- Shape the cookies: Using a cookie scoop or a spoon, portion out the dough into evenly sized balls and place them on the prepared baking trays. Ensure that there’s enough space between each cookie, as they will spread while baking.
- Bake the cookies: Preheat your oven to 180°C (350°F) and bake the cookies for 10-12 minutes. They should be golden around the edges but still soft in the center.
Pro Tip: For chewier cookies, slightly underbake them and allow them to cool on the tray.
For more tips on how to bake perfect cookies, see King Arthur Flour’s cookie tips.
Tips for Perfect Millie’s Cookies
To make sure your Millie’s Cookies turn out perfectly every time, here are a few additional tips:
- Chill the dough: Let the dough chill for 30 minutes before baking to prevent excessive spreading.
- Use high-quality chocolate: This makes a significant difference in taste and texture.
- Don’t overbake: Millie’s Cookies are known for their soft centers, so aim to take them out of the oven just as the edges start to brown.
For other sweet treats, try our Low Sugar Lemon Cake Recipe, perfect for those seeking a lighter option.
Storing and Serving Millie’s Cookies
After you’ve baked your cookies, here’s how to store them:
- Storage: Keep your cookies in an airtight container at room temperature for up to 5 days.
- Freezing: If you want to make the dough ahead of time, you can freeze it for up to 3 months. When you’re ready to bake, simply thaw and bake as usual.
Serving Suggestions: These cookies are perfect when served with a glass of cold milk or crumbled over ice cream.
Customizing Your Millie’s Cookies
Millie’s Cookies are fantastic as is, but you can get creative and customize them to suit your taste preferences. Here are some ideas:
- Add-ins: Mix in some white chocolate chips, macadamia nuts, or dried fruit for extra texture.
- Flavor variations: Swap out the chocolate chips for M&Ms, peanut butter chips, or caramel bits.
- Vegan version: Use vegan butter and an egg substitute to create a vegan-friendly batch.
Looking for more cookie ideas? Check out our Spirited Away Shortbread Cookies Recipe.
FAQs About Millie’s Cookies
What makes Millie’s Cookies unique?
Millie’s Cookies are known for their soft, chewy texture, which sets them apart from other crunchy cookies.
Can I freeze Millie’s Cookies dough?
Yes, you can freeze the dough. Shape the dough into balls and freeze them on a tray. Once solid, transfer the balls to a zip-top bag and store them in the freezer.
How do I ensure my cookies stay soft?
To keep your cookies soft, store them in an airtight container with a slice of bread. The moisture from the bread helps keep the cookies chewy.
Conclusion
Making Millie’s Cookies at home is both fun and rewarding. With the right ingredients, tools, and technique, you can recreate this classic treat in your own kitchen. Whether you stick to the original recipe or add your own twist, these cookies are sure to impress friends and family.
So, get ready to bake, experiment with new flavors, and enjoy the delicious results!
