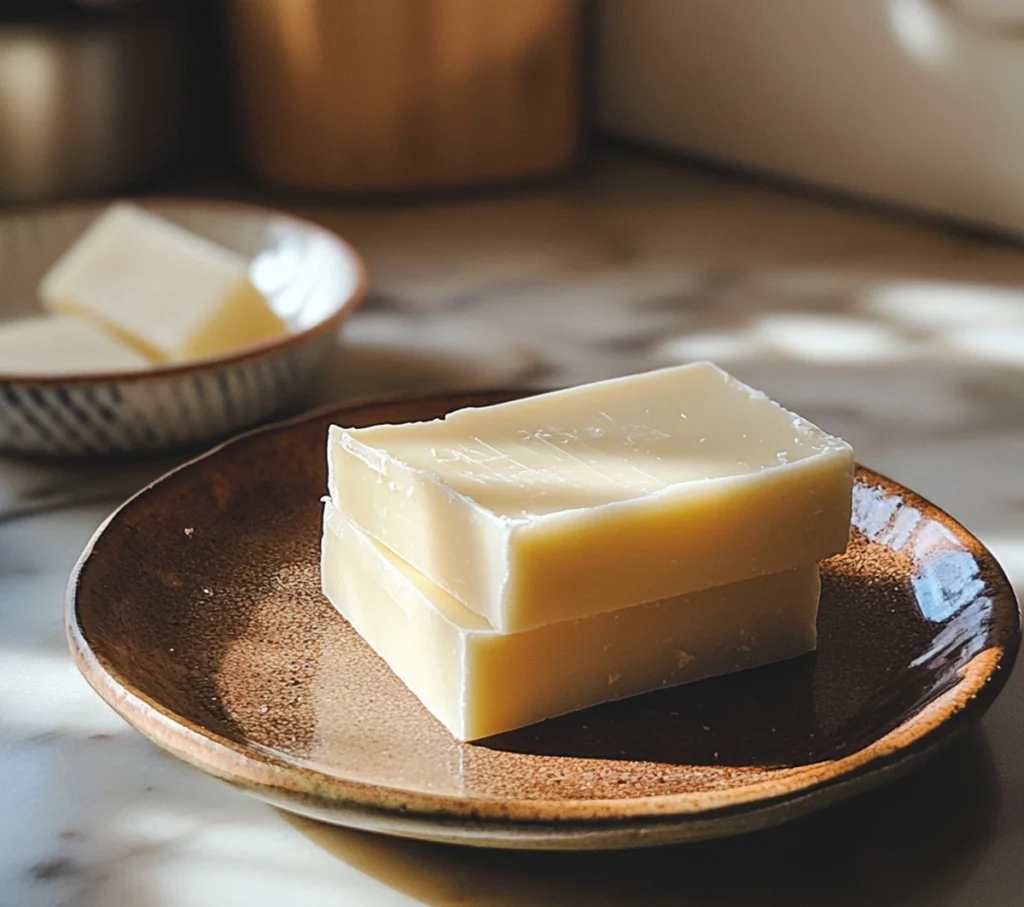
Making goat milk soap at home is a rewarding experience, offering natural skin benefits such as moisture and nourishment. But one question remains for many beginners: “Do you need lye to make goat milk soap?” The answer depends on the method you choose—whether it’s traditional soap-making or using a pre-made base.
In traditional soap-making, lye (sodium hydroxide) is essential for saponification, the chemical process that turns oils and fats into soap. However, if you’re looking for an easier method that doesn’t involve handling lye, you can opt for a melt-and-pour soap base, where the saponification process has already been completed. To explore more about easy and safe soap-making, check out this guide on goat milk soap without lye.
Working with lye may sound daunting, but once the soap has fully cured, no lye remains in the final product, ensuring it is safe for the skin. To ensure safety when using lye, make sure to follow the right procedures, as outlined in these lye safety tips.
Why Is Lye Used in Goat Milk Soap?
When making goat milk soap from scratch, lye is necessary for the process of saponification, where the chemical reaction between lye and oils produces soap. Without lye, you would simply have a mixture of oils and water that won’t solidify into soap.
Though lye is a caustic substance, during saponification, it is completely neutralized. The resulting soap is mild, skin-friendly, and contains the moisturizing benefits of goat milk. Many homemade soaps incorporate ingredients like honey, adding further moisturizing properties.
Can You Make Goat Milk Soap Without Lye?
Yes, you can make goat milk soap without directly using lye by choosing the melt-and-pour method. Melt-and-pour soap bases have already undergone the saponification process, so you can skip handling lye entirely. This method is ideal for beginners or those seeking a faster, safer approach to soap-making.
Benefits of Melt-and-Pour Soap:
- No lye handling: Perfect for beginners and safer to use.
- Quick and easy: No curing time required, and soap is ready once it hardens.
- Customizable: Add scents, colors, or natural ingredients such as oatmeal or honey to create unique soaps.
To learn more about fun ways to repurpose ingredients in recipes, such as how to use sourdough discard in creative ways, check out creative sourdough discard recipes.
How to Make Goat Milk Soap With Lye
If you prefer traditional soap-making, follow this step-by-step guide to make goat milk soap using lye.
Ingredients:
- 4 oz. lye (sodium hydroxide)
- 9 oz. goat milk
- 24 oz. olive oil or coconut oil
- Essential oils (optional for fragrance)
Instructions:
- Safety first: Wear gloves and goggles, and always add lye to water, never the other way around.
- Prepare the lye solution: Slowly mix lye into frozen goat milk to prevent the milk from burning.
- Combine with oils: Once the lye mixture has cooled, add it to the oils.
- Blend: Use an immersion blender to mix until it reaches trace (a pudding-like consistency).
- Pour into molds: Pour the mixture into molds and allow it to set for 24-48 hours.
- Cure: Let the soap cure for 4-6 weeks to ensure it hardens fully and is safe for skin use.
For additional inspiration on other creative recipes, you might want to explore how sourdough starter can be activated or discarded in a fun way. Learn more about activating sourdough discard here.
How to Make Goat Milk Soap Without Lye (Melt-and-Pour Method)
If you prefer a simpler approach, the melt-and-pour method allows you to make soap without handling lye. Here’s how to get started:
Ingredients:
- 1 lb goat milk soap base
- 3 tbsp honey (optional)
- Essential oils (optional for fragrance)
Instructions:
- Melt the soap base: Cut the soap base into cubes and melt it in the microwave or a double boiler.
- Add ingredients: Stir in honey, essential oils, or other natural additives.
- Pour into molds: Pour the melted soap mixture into molds and let it set for 1-2 hours.
- Ready to use: Once the soap hardens, it’s ready for use—no curing time required.
To better understand the differences between melt-and-pour and traditional cold-process soap-making, check out this comparison of the melt-and-pour vs. cold-process methods.
Pros and Cons of Using Lye vs. Melt-and-Pour
With Lye:
- Pros:
- Complete control over ingredients.
- A true soap-making experience.
- Longer-lasting bars of soap.
- Cons:
- Requires handling caustic lye.
- Longer curing time (4-6 weeks).
- More complex and time-consuming.
Without Lye (Melt-and-Pour):
- Pros:
- Safe, easy, and perfect for beginners.
- No curing time.
- Can be customized with oils, colors, and ingredients.
- Cons:
- Less control over the base ingredients.
- Not the traditional soap-making experience.
Frequently Asked Questions (FAQs)
Do I need lye to make goat milk soap?
Yes, if making soap from scratch, lye is necessary for the saponification process. However, using a pre-made melt-and-pour base avoids the need to handle lye.
Is goat milk soap without lye real soap?
Yes, when using a pre-made base, the soap has already gone through the lye process, making it safe and effective.
Can I make goat milk soap without curing time?
Yes, the melt-and-pour method allows you to skip curing. The soap is ready to use as soon as it hardens.
Is it safe to handle lye for soap making?
Yes, as long as proper safety precautions are followed, such as wearing protective gear and working in a well-ventilated area.
Conclusion
Whether you decide to make goat milk soap with or without lye depends on your preference for control and complexity. For those who want a traditional experience, working with lye offers complete ingredient control. If you prefer a faster, easier route, melt-and-pour is perfect. Both methods produce nourishing, moisturizing soap that is excellent for your skin.
Be sure to experiment and enjoy the process, and for more creative projects, check out these recipes on sourdough discard and how to activate sourdough starter.
